Quick answer
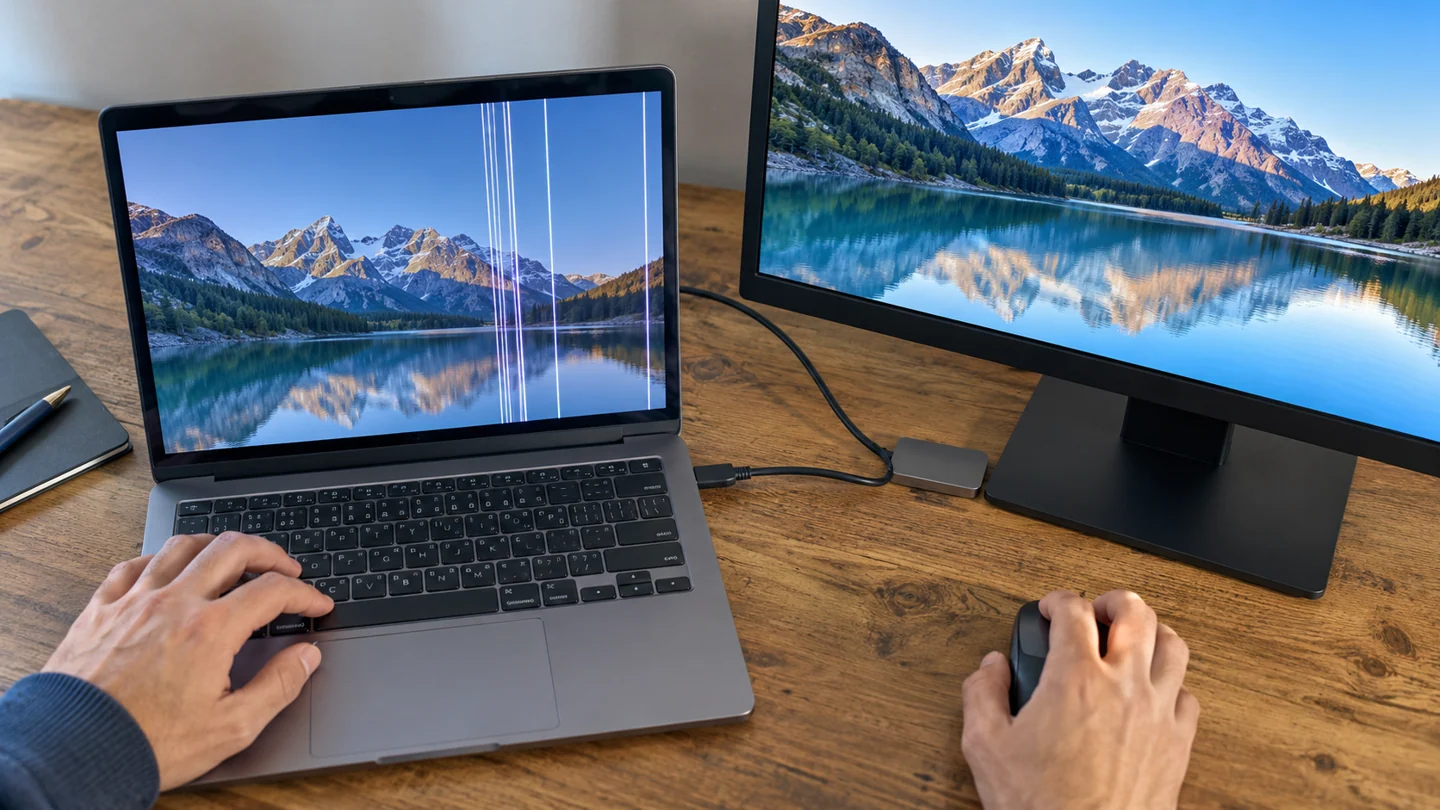
Compare the built-in screen with an external display and a model-supported screen self-test. Lines can come from the panel, display cable or graphics path; a driver update is not a universal fix.
Understand the problem before changing anything
A line visible on the manufacturer logo or a hardware self-test exists outside normal Windows rendering. A problem that appears only in one application suggests a different starting point. Record when it happens without repeatedly flexing the screen.
Step-by-step checks
Check before Windows loads
Observe the startup logo or firmware screen. Note whether the line is fixed, flickering or accompanied by cracks or dark patches.
Compare an external screen
Use a known-good display and cable. A clean external picture with a lined internal screen points toward the internal display path, though it is not a complete diagnosis.
Use the model’s screen test
Follow the manufacturer’s instructions for the exact laptop. Some Dell models support an LCD self-test; other brands use different procedures.
Inspect a screenshot separately
View a screenshot on another device. If it also contains the lines, investigate the rendered image or graphics path; if not, inspect the display hardware path.
Arrange a part-specific assessment
Record the panel size, model and test results before approving a replacement. Check cable and connector possibilities rather than assuming the panel alone is faulty.
What to avoid
Do not press, twist or repeatedly bend the panel to make a line disappear. Avoid opening the lid assembly while the battery remains connected.
How to verify the result
After repair, check solid colours, normal viewing angles and an external display as relevant. Confirm brightness, sleep and wake behaviour too.
Compare the screen, the signal and the displayed image
Note whether the problem appears before the operating system loads, in every app or only in one program. A manufacturer logo with the same defect points toward a different investigation from a single application rendering incorrectly. Check basic brightness, selected input and cable condition without repeatedly flexing a damaged screen.
Where supported, compare a known-good external display and a manufacturer-provided screen test. View a screenshot on another device if that helps distinguish the rendered image from the physical panel. These results narrow the fault but do not automatically identify one replacement part; cables, connectors and the graphics path can affect the result.
Keep a short record of when the fault occurs, including sleep, wake, docking and a particular resolution. After a repair or setting change, repeat those conditions and inspect both text and simple solid colours. Do not press the panel or dismantle a powered display assembly to test a theory. If there is cracking, liquid damage or a burning smell, stop ordinary software troubleshooting and arrange a suitable hardware assessment.
Before you finish
- Before-boot and app-only behaviour compared
- Known-good cable or display tested where suitable
- Screenshot distinguished from physical panel output
- Sleep, wake and original fault conditions retested
Common question
Does a clean external monitor prove the laptop screen needs replacement?
It narrows the problem toward the internal screen path, but the cable and connectors may also need checking before parts are ordered.
Need help with the next step?
Tell RJ Computers the device model, exact symptom, checks already tried and whether important files are backed up. Confirm availability, assessment charges and the scope of work before arranging a visit.
Reference and version notes
Check the official instructions for your exact product version; menu names and available features can differ.
Dell: Laptop screen self-test